
Adding a New Lesson
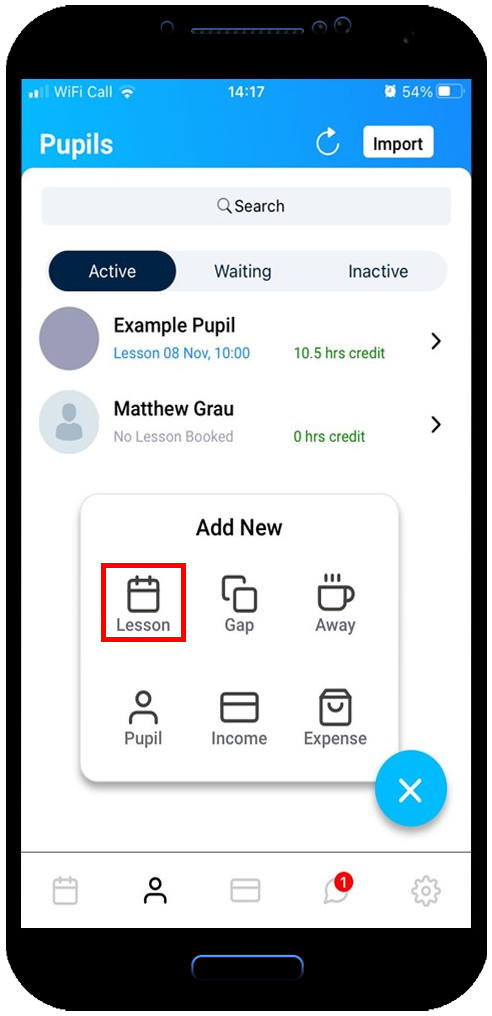
You can create a lesson in three different ways—choose the method that suits your current workflow:
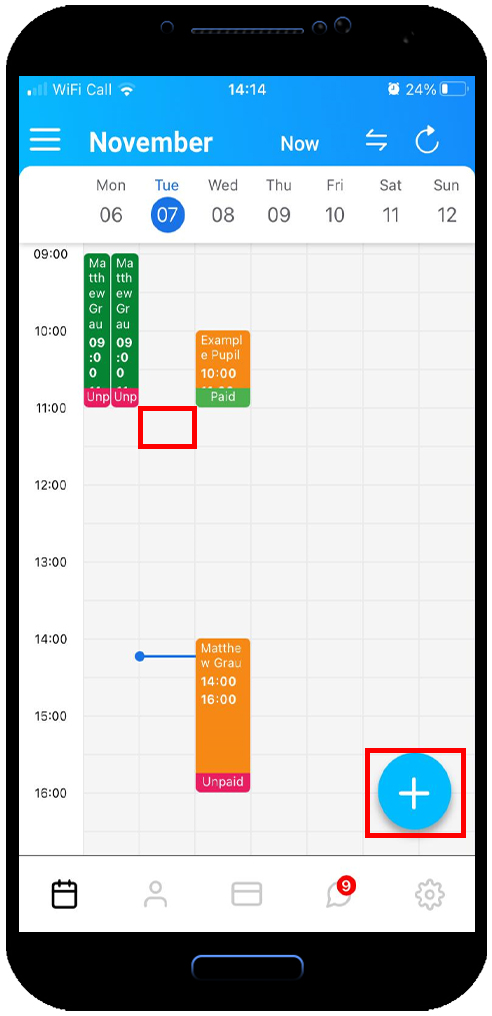
From the Diary View: Tap on any free time slot in your calendar.
From the Quick Add Button: Tap the "+" icon inside the blue circle (usually located at the bottom of the screen).
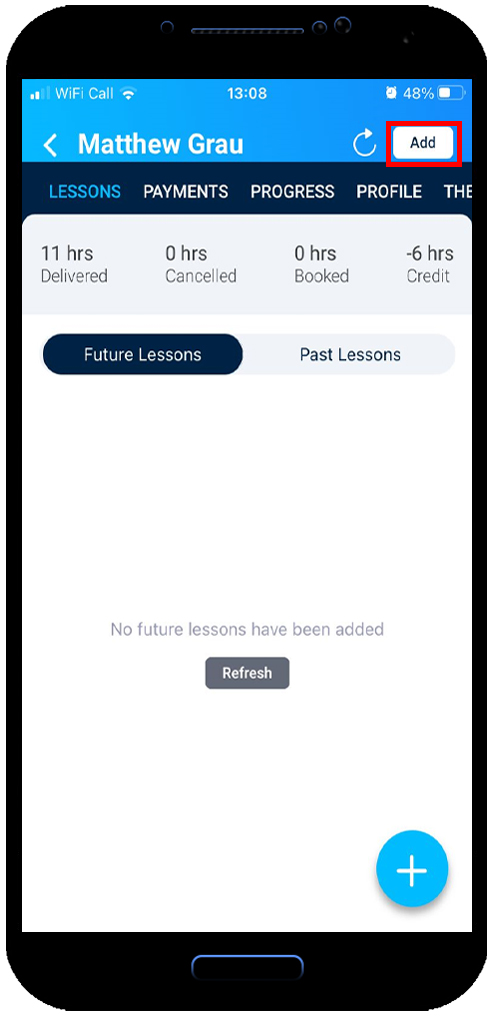
From a Pupil's Profile: Open a specific pupil's record and tap the Add button at the top of the screen.
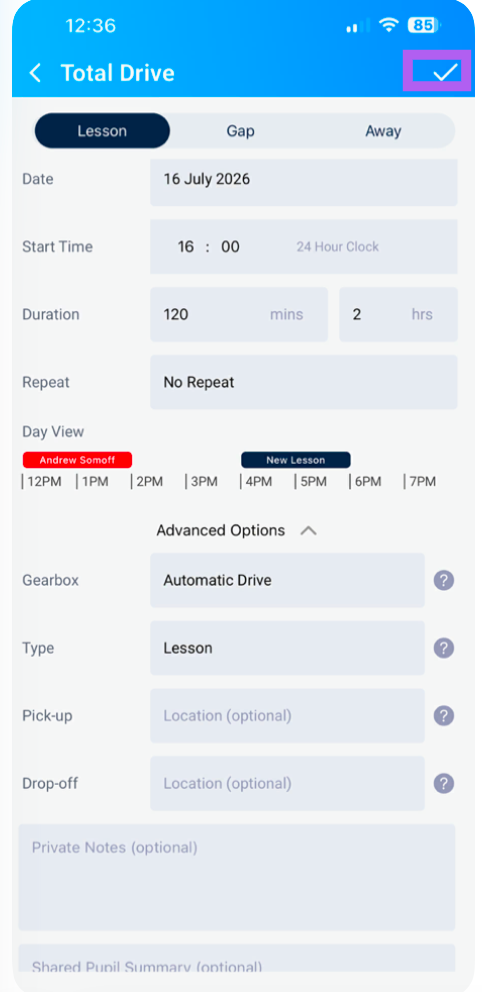
Whichever method you choose, you'll be taken to the New Lesson screen.
Basic Lesson Details
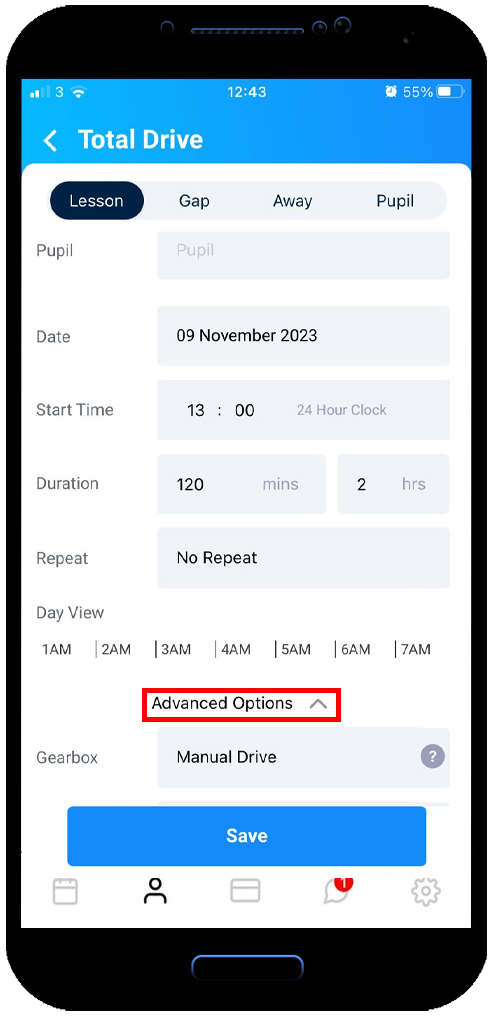
On the main screen, fill in the essential information for the booking:
Pupil: Select the student from your list.
Time: Set the start date and time for the lesson.
Duration: Choose how long the lesson will last (this will default to your preset, but you can adjust it).
Repeat: If this is a recurring booking, set the repetition pattern here (e.g., weekly, fortnightly).
Advanced Options (Optional)
If not already open then Tap on the "Advanced Options" section to expand it and add further details. These fields are optional but help you stay organised:
Gearbox: Specify whether the lesson will use an Automatic or Manual vehicle.
Lesson Type: Categorise the lesson (e.g., Standard, Motorway, Pass Plus, Test).
Pick-up Location: Enter the address or landmark where you'll collect the pupil.
Drop-off Location: Enter where the lesson will end.
Private Notes: Add internal reminders or instructions that only you can see.
Shared Pupil Summary: Write a summary or feedback that will be visible to the pupil (this is a great way to share progress notes).
Saving Your Lesson
Once you've filled in all the required details, tap the tick at the top right of page. The lesson will immediately appear on your Diary View, and any relevant notifications (depending on your settings) will be sent to the pupil.